
-
Request direct access to the Data Import tool.
-
For existing customers, submit a Support ticket for your respective product.
-
For new customers, contact your Services representative.
-
-
Select the URL provided by PowerSchool to finalize your account setup. The link is unique to your account and will expire if not used within 72 hours.
-
Enter the Email Address you would like associated with your account. This address will be the username to log in to the Data Import tool.
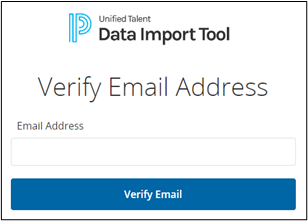
Verify Email Address
-
-
Click Verify Email.
-
In the verification email, click Verify Email Address.
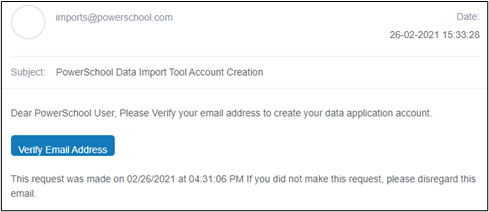
Verification Email -
Create the password for the account. Passwords must be a minimum of eight characters, with one uppercase, one number, and one special character.
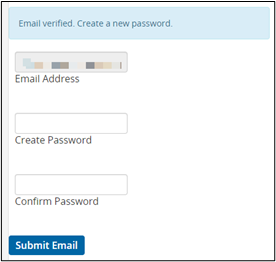
Create Password -
Click Submit Email. You are redirected to the Data Import Tool login page. You can also access the US or Canadian login pages directly.
-
The Reporting landing page has two tabs (Imports and File Validations) that show jobs run in the last two weeks. If you are just getting set up with the Data Import Tool, the tabs will likely be empty. Refer to the FAQ and Troubleshooting page for information on how to review import logs and troubleshoot common import errors.
-
The application’s Configuration page contains three tabs:
-
On the Import Configuration tab, you can view existing import jobs, manually create new import jobs, perform manual import runs, and validate your files before importing them to your products. Import jobs can be set up for TalentEd and Professional Learning and Perform Enterprise.
-
The Environment Configuration tab lists any environments that are currently tied to the Data Import tool. Click the Edit icon next to the environment to set the default import run time, as well as the email distribution list of who should be emailed when an import is run.
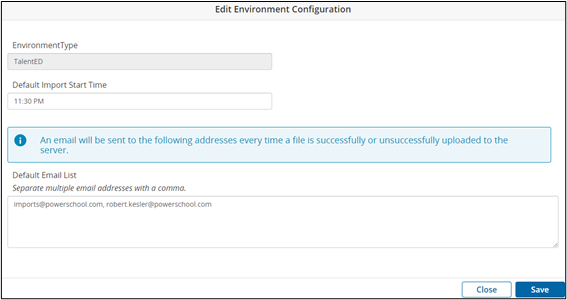
Edit Environment Configuration -
On the Remove Server Configuration tab, you can review and add SFTP server information if you are using your own SFTP server to host the import files.
-
-
After setting up individual import jobs, we recommend running all your files through the file validation tool before importing them into your system to ensure the files are properly configured and do not contain any critical errors.
-
After your files pass file validation, or if you run into issues validating your files, contact your Support or Services representative to review your imports before manually importing your files or enabling the automatic import setting.