Create a Badge
To create a new badge, follow these steps.
- Click the Badges tab, then select Dashboard.
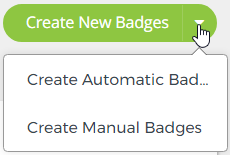
- Click Create New Badges , then select the badge type you want to create.
- Enter the badge title and description. These are required for both badge types.

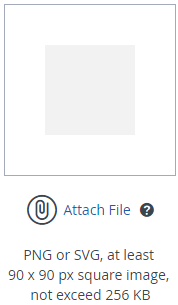
- Click Attach File to associate an image with the badge. This will be the badge thumbnail in the Library and in reporting.
- Criteria - Manual badges must specify a set of criteria that the earner must meet and for which evidence must be provided.
- Enter detailed requirements for each task that must be completed to earn this badge.

- Select the checkbox if you want the earner's evidence to be publicly viewable.
- Enter detailed requirements for each task that must be completed to earn this badge.
- Select the option if you want this badge to be added to users' To-Do lists. Once the badge is published, it will be displayed on the selected user's My Badges tab.
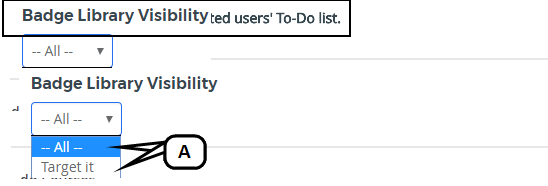
- Select whether to add this badge to All users or to Target specific users. To Target to specific users, see Target Users.
- Add Courses - Automatic badges must have a series of courses associated to them. The completion of these courses triggers the automated awarding of the badge. (Manual badges can have courses associated to them, but it is not required.)
- Click Add Courses.
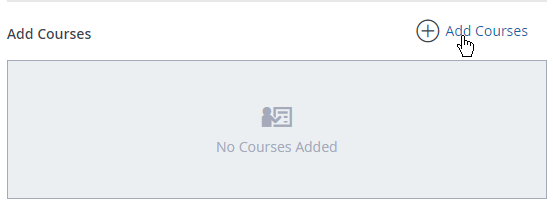
- The course catalog will display. Select the checkbox for each course you want to add to the badge requirements.
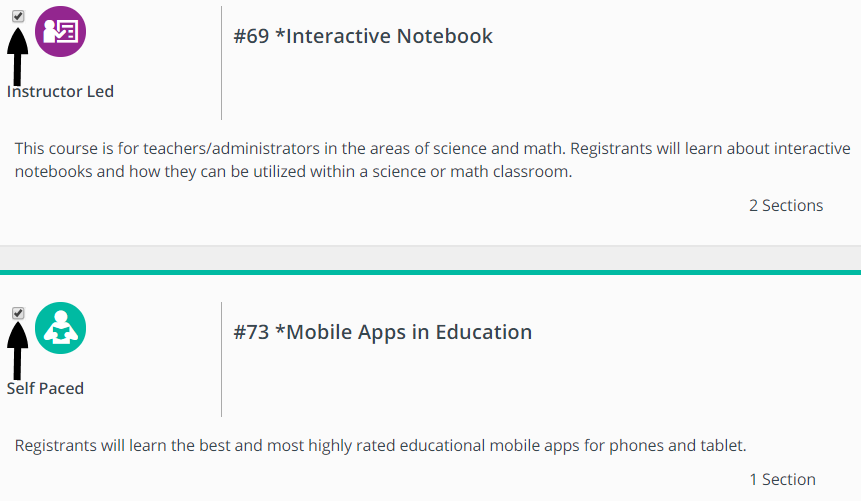
- When done selecting courses, click Add Courses To Badge.

The courses will be listed.
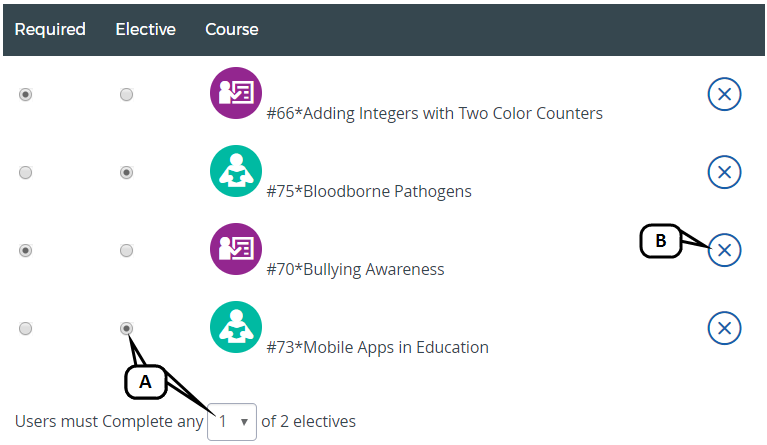
- Courses can be designated as required or elective. If electives are chosen, you can determine how many must be completed to receive credit for the playlist
- Remove a course from the list using the delete icon.
- Click Add Courses.
- Additional Instructions - Enter any additional instructions, including attachments, if necessary.

- Add Attachments - You can add attachments to badges.
- Click Attach File.
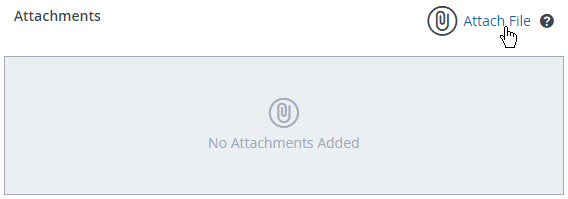
- Browse your local files and select the desired attachment.
- Click Open.
- Click Attach File.
- Message on Completion - Enter the message the Badge Earner will receive once the badge has been earned.

- Click Save Draft while working on the badge so you can work on it over multiple sessions before publishing it to the Badges Library. Draft badges can be found on the Badges Studio tab of the Library.
- Once all information is final, click Create Badge. The badge will appear in the Library as well as under Recently Created Badges on the Dashboard.
Target Users
Add Dynamic Rules
- Click Add Criteria, then choose Add Dynamic Rule.
Select the desired fields. Each field selected will open an associated list of specific criteria.
Select more than one field at a time to create a multi-faceted, dynamic rule.
- Select the specific criteria.
- When you are finished making selections, click Add.
- Choose Include or Exclude.
Add Staff Group
- Click Add Criteria, then choose Add Staff Group.
- Click + for the desired staff groups.
- When you are finished selecting groups, close the modal by clicking the x.
- Choose Include or Exclude.
Add Users Manually
Add User
- Click Add Members, then choose Add User.
- Select individual users or all the users on the page.
- When you are finished selecting users, click Add.
Add Users Advanced
- Click Add Members, then choose Add User Advanced.
- Select the type of identifiers, the type of separator, and input the specific identifier(s). You can copy and paste the identifiers into the box provided.
- Click Next.
- From the list of users associated with the identifiers provided, select the desired users. Click Prev and Next to see all users.
- When you are finished selecting users, click Done.
